Netgear EX6120 Setup, Reset, Lights & Firmware Update
Official sources used for this guide
- NETGEAR EX6120 support and downloads
- NETGEAR: Set up a WiFi range extender
- NETGEAR: Troubleshoot access to mywifiext.net
Menus, LEDs and supported features vary by model and firmware. Check the model label and current manufacturer documentation before changing settings.
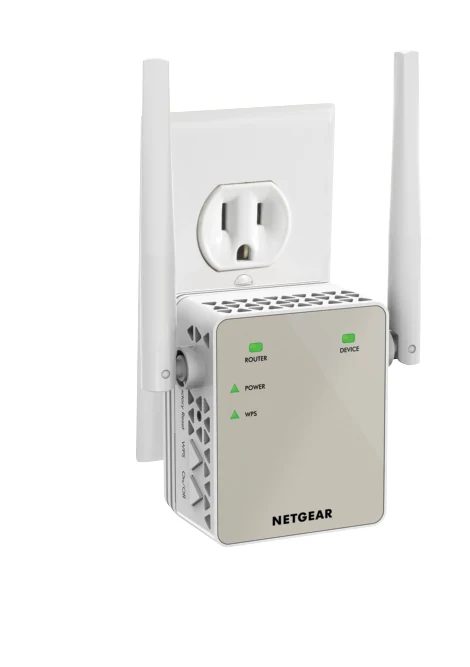
The EX6120 is an AC1200 dual-band wall-plug extender with external antennas, FastLane technology, two WiFi modes and one 10/100 Mbps Fast Ethernet port.
1. Netgear EX6120 Overview
The EX6120 supports simultaneous 2.4 GHz and 5 GHz WiFi up to a combined 1200 Mbps and works with 802.11ac plus legacy b/g/n devices. Its external antennas are intended to improve coverage.
The data sheet lists FastLane technology, a Fast Ethernet port and two WiFi modes: extend an existing network or create a new AC access point.
2. Netgear EX6120 Setup
EX6120 WPS Setup
EX6120 Browser Setup
3. EX6120 FastLane & Access Point Mode
4. Netgear EX6120 Lights & Indicators
| Indicator | Purpose |
|---|---|
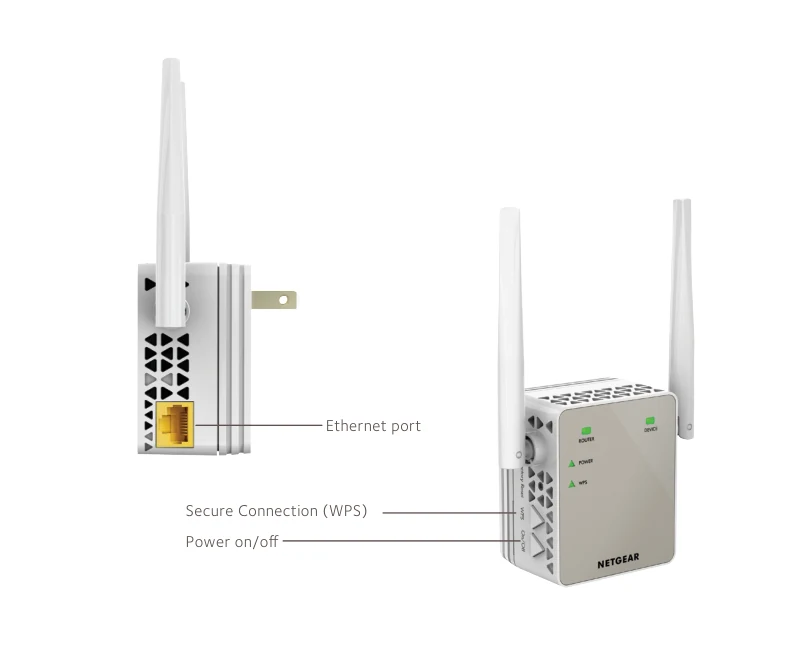
| Router / link | Shows connection toward the router. |
| Device / extender | Shows the client-side link; NETGEAR notes it can blink amber during firmware installation. |
| LAN | Ethernet link/activity. |
| WPS | Push-button setup status. |
5. Netgear EX6120 Login
Connect to the EX6120 network and open http://www.mywifiext.net. Sign in with the extender's local administrator credentials.
6. How to Reset Netgear EX6120
A reset returns the EX6120 to its initial AC1200 setup state and removes its extended-network configuration. With power stable, hold the recessed Factory Reset control until the indicator changes, then let the wall-plug extender reboot completely before looking for its setup SSID.
7. Netgear EX6120 Firmware Update
The newest official EX6120 firmware article found during this build lists version 1.0.0.72. For manual upgrade, log in at mywifiext.net, open the firmware upgrade area, select the EX6120 .chk file and upload it. Do not power off or reboot during the process.
8. Netgear EX6120 Troubleshooting
WPS does not connect
Move the extender closer and retry, or use browser setup.
Extended connection is slow
Check placement and consider FastLane where appropriate. Remember the Ethernet port itself is limited to 100 Mbps.
Wired device has no link
Check the cable and LAN indicator.
9. Netgear EX6120 Specifications
| Item | Detail |
|---|---|
| Product | AC1200 WiFi Range Extender Essentials Edition |
| 2.4 GHz | 802.11b/g/n |
| 5 GHz | 802.11a/n/ac |
| Ethernet | 1 × 10/100 Mbps |
| Security | WPA/WPA2-PSK and WEP |
| Dimensions | 55.17 × 67.17 × 39 mm |
| Weight | 130 g |
EX6120 Model-Specific Quick Diagnosis
This AC1200 with Ethernet/AP mode guide uses the following checks to keep EX6120 troubleshooting distinct from other extender families.
| Observed symptom | EX6120-specific next check |
|---|---|
| Wired backhaul does not work | Select Access Point mode before connecting the router Ethernet cable. |
| FastLane reduces compatibility | Return to normal dual-band mode to test clients before blaming placement or firmware. |
| Only one router band is extended | Use browser setup to select both SSIDs and enter each current router credential. |
| Local login fails after configuration | Use the DHCP client list to locate the EX6120 rather than assuming 192.168.1.250. |
10. Netgear EX6120 FAQs
Is EX6120 dual band?
Yes.
Does it support access point mode?
Yes.
Does it have Gigabit Ethernet?
No, the supplied specification lists 10/100 Mbps Fast Ethernet.
What is FastLane?
A mode that uses both WiFi bands for a higher-speed connection path.